...
| Expand | ||
|---|---|---|
| ||
The Passport For Care® (PFC) application is an innovative healthcare project developed by researchers at Baylor College of Medicine and the Texas Children’s Cancer Center that addresses the need to provide patients and survivors of chronic illnesses with increased access to their medical information, healthcare guidelines, and appropriate follow-up care recommendations. The PFC is an interactive Internet resource that provides the user with accurate, timely, and individualized healthcare information available electronically 24/7. The PFC was developed for survivors of childhood cancer based on the Survivorship guidelines provided by the Children’s Oncology Group (COG). The PFC provides tailored guidelines in a computerized/digitized and automated way by combining the treatment input data with the COG guidelines to generate a comprehensive survivorship care plan with follow-up care recommendations and educational information. We encourage you to explore how the PFC can be used as a patient database. The reporting function allows your clinic to use this site as a patient database and customize the returned set of records using a number of options to filter included patients and control which data is displayed. However, keep in mind that the Passport for Care is not a replacement for an Electronic Medical Record. Additionally, the Passport for Care has been further expanded to include the Survivor website that allows the survivor 24/7 access to their own treatment information, follow-up care recommendations, and thus make it sharable with any healthcare providers. |
| Expand | ||
|---|---|---|
| ||
Logging on:Step 1: Note your user name and password. Usernames and passwords are unique to each individual and should not be shared. Step 2: Go to https://www.passportforcare.org to access the PFC. Step 3: Enter into the designated fields the assigned username and password and click the “Sign In” button. Once logged in, you will notice your name at the top of the screen. Verify that it is the correct name. %20(1)%201700%20x%20700.png?version=1&modificationDate=1610493803893&cacheVersion=1&api=v2&width=564) %20(1)%201700%20x%20700.png?version=1&modificationDate=1610493803893&cacheVersion=1&api=v2&width=557) Logging off:Step 1: Click on your name on the top right. Step 2: Find and click the “Sign Out” button. Once the “Sign Out” button is clicked you will be logged off and you will be directed to the PFC site’s login page. 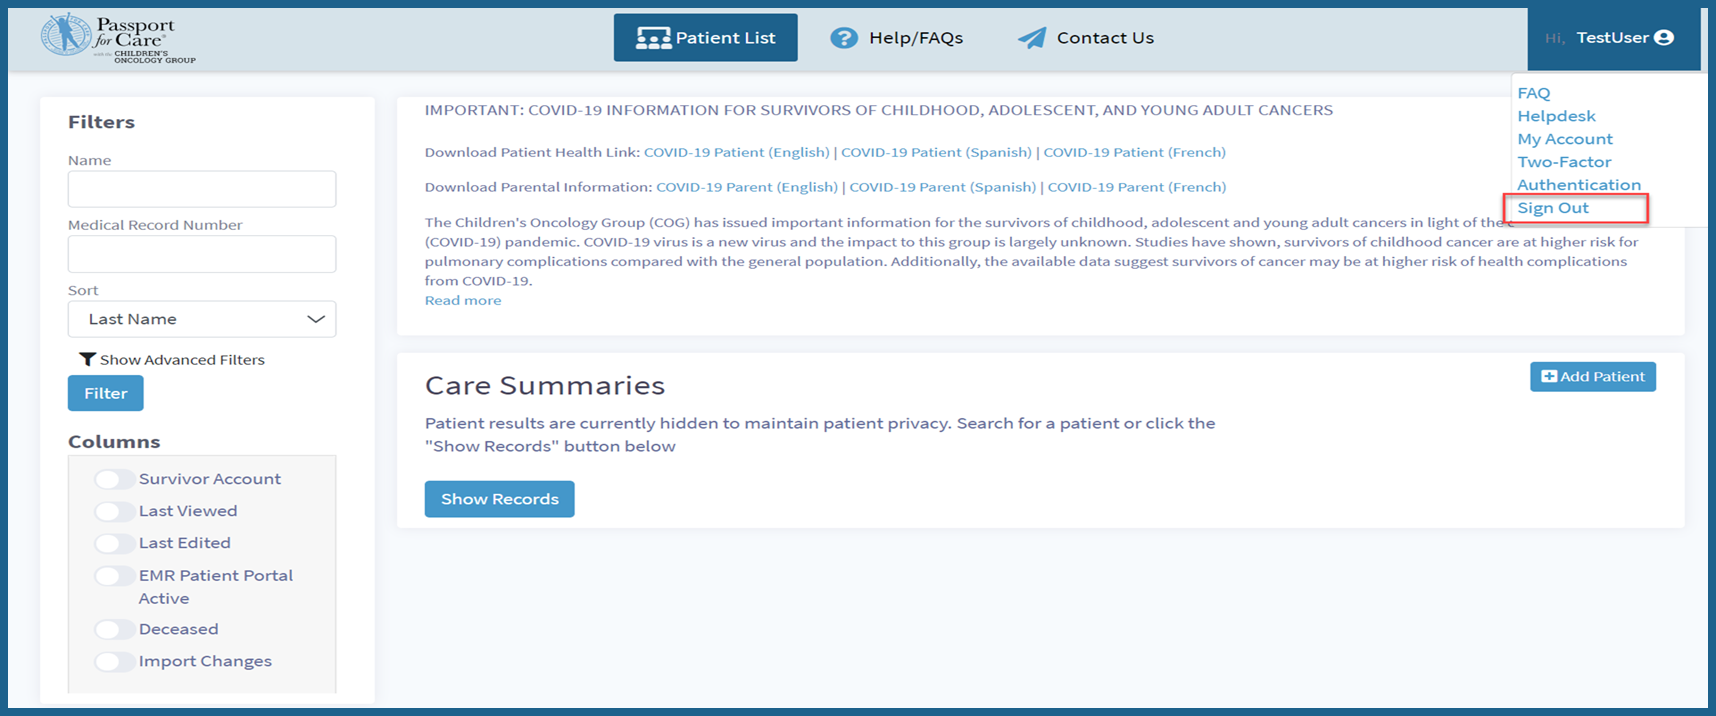  Note
|
| Expand | ||
|---|---|---|
| ||
For security purposes, we recommended that you enable the two-factor authentication that will help you keep your account secure. Two-factor authentication is an extra layer of security for your Passport for Care account that will help ensure you’re the only person who can access it even if someone knows your password. 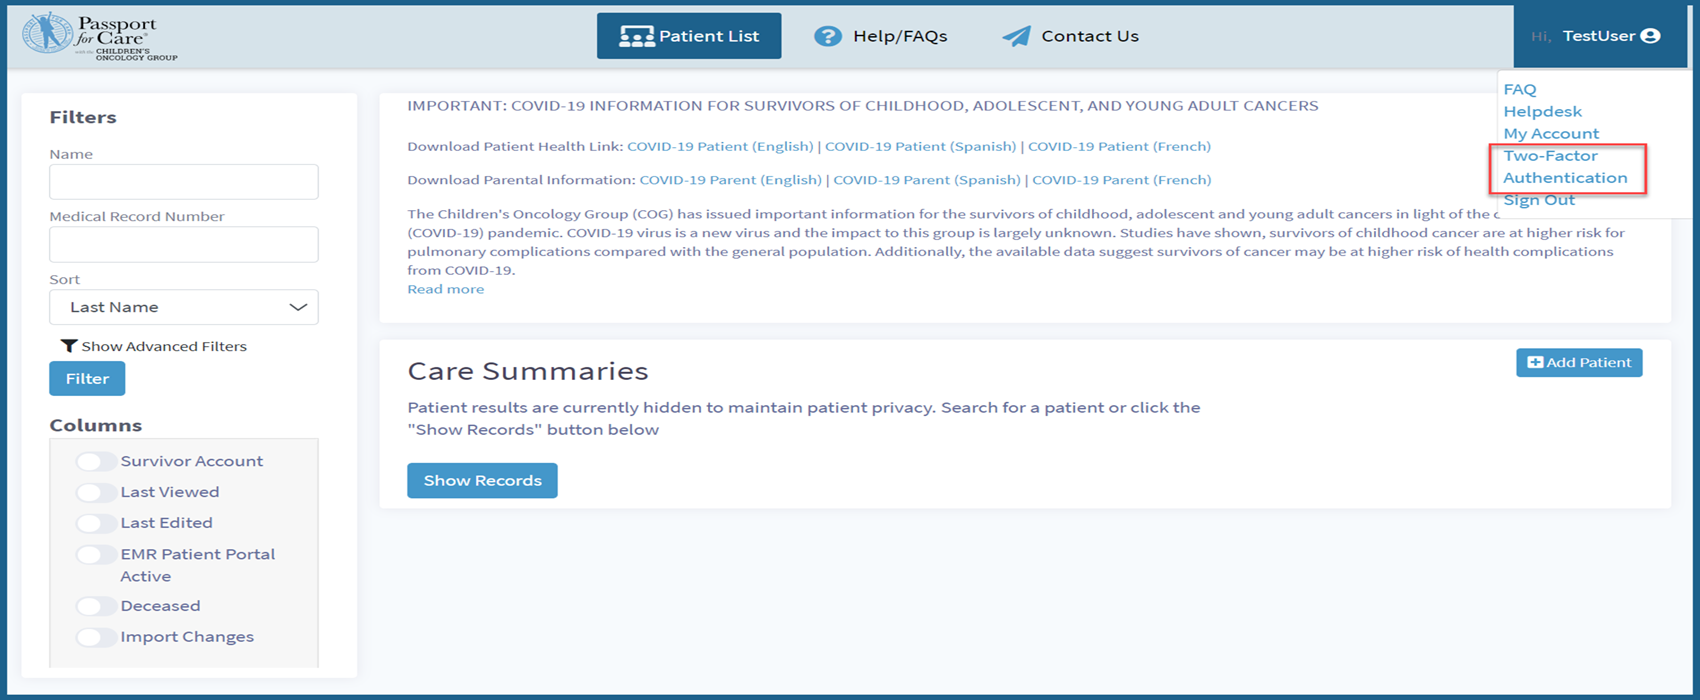  By enabling two-factor authentication, you will use the token sent to the primary token device every time you log in. You may select either one of the following authentication methods:
Once complete, both authentication methods allow you to set-up the following backup methods in case your primary token device is unavailable:
|
| Expand | ||
|---|---|---|
| ||
The PFC Cancer care summary is based on the “Summary of Cancer Treatment” document provided by the Children’s Oncology Group. There are two ways to view your clinic's care summaries, comprehensive view (default), and abbreviated view. %20(1).png?version=1&modificationDate=1610494300675&cacheVersion=1&api=v2&width=340) Users can toggle back and forth from one view to the other. Information entered into one view feeds into the other. Both will generate the same set of Followfollow-Up Guidelinesup guidelines.
|
| Expand | ||
|---|---|---|
| ||
The comprehensive view is a unique view of the care summary page only. The view displays all entry fields when entering patient information and displays all the information submitted when viewing the care summary page. Information entered into the comprehensive view will display for the survivor to see on their Survivor Website. The comprehensive view allows for the entry of the following treatment plans:
Multiple individual treatment summaries can be assigned to a treatment plan. Those treatment plans include:
The Comprehensive view also collects the following additional information:
|
| Expand | ||
|---|---|---|
| ||
The Abbreviated abbreviated view is a unique view of the care summary page only. The view displays only required fields when entering patient information and displays only those fields when viewing the care summary page. The Abbreviated abbreviated view also gives you a collapsed view of the patient's care summary page that does not include additional treatment summary forms such as Complicationscomplications/Late Effects and Adverse Drug Reactionslate effects and adverse drug reactions. The Abbreviated abbreviated view collects the following:
The Abbreviated abbreviated view does not collect the following additional information:
Note
|
| Expand | ||
|---|---|---|
| ||
Any information you would like to add to which the system may not have a dedicated field can be entered using the additional information page. These entries will be displayed in the Cumulative Summary cumulative summary and will not affect the algorithm when guidelines are generated. Additionally, when creating entries you can choose to have the entry be either visible to patients on their Survivor Website or hidden so that it is only visible to other clinicians in your clinic who access the patient care summary. 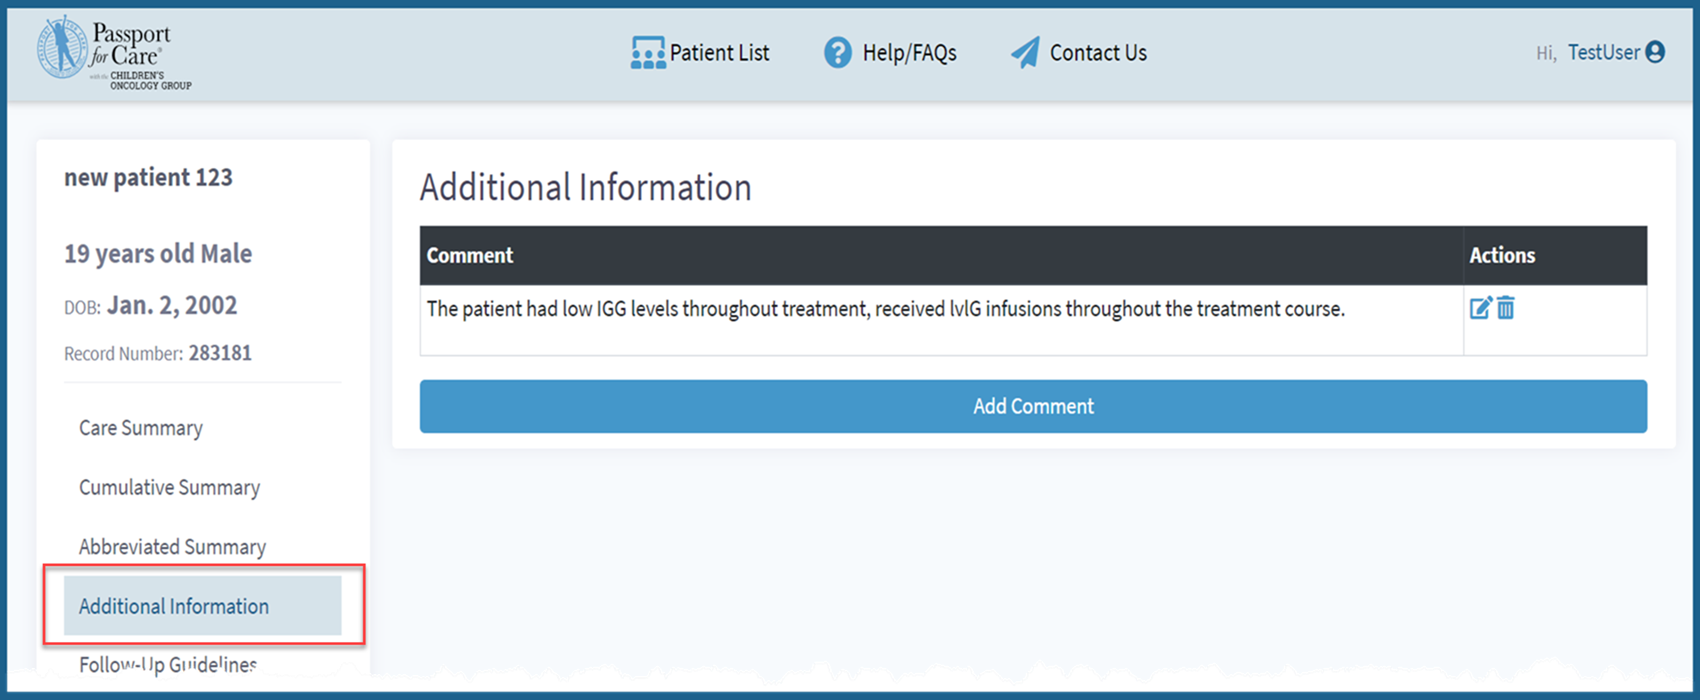  Note
|
| Expand | ||
|---|---|---|
| ||
The Cumulative Summary cumulative summary displays an entire overview of the patient’s cancer experience(s) entered. While no edits can be made in on this page, it combines all the data entered through either the Abbreviated abbreviated or the Comprehensive comprehensive view. The Cumulative Summary cumulative summary is available in PDF and as an editable Word Document.   |
| Expand | ||
|---|---|---|
| ||
The Abbreviated Summary abbreviated summary displays only required fields from patient's information entered in on the care summary page. While no edits can be made in on this page, it mirrors the data that can be entered through the Abbreviated abbreviated view. As in the Abbreviated abbreviated view, this summary does not display the following sections: Treatment Centerstreatment centers, Protocolsprotocols, Complicationscomplications/Late Effectslate effects, and Adverse Drug Reactionsadverse drug reactions. The Abbreviated Summary abbreviated summary is available in PDF and as an editable Word Document. 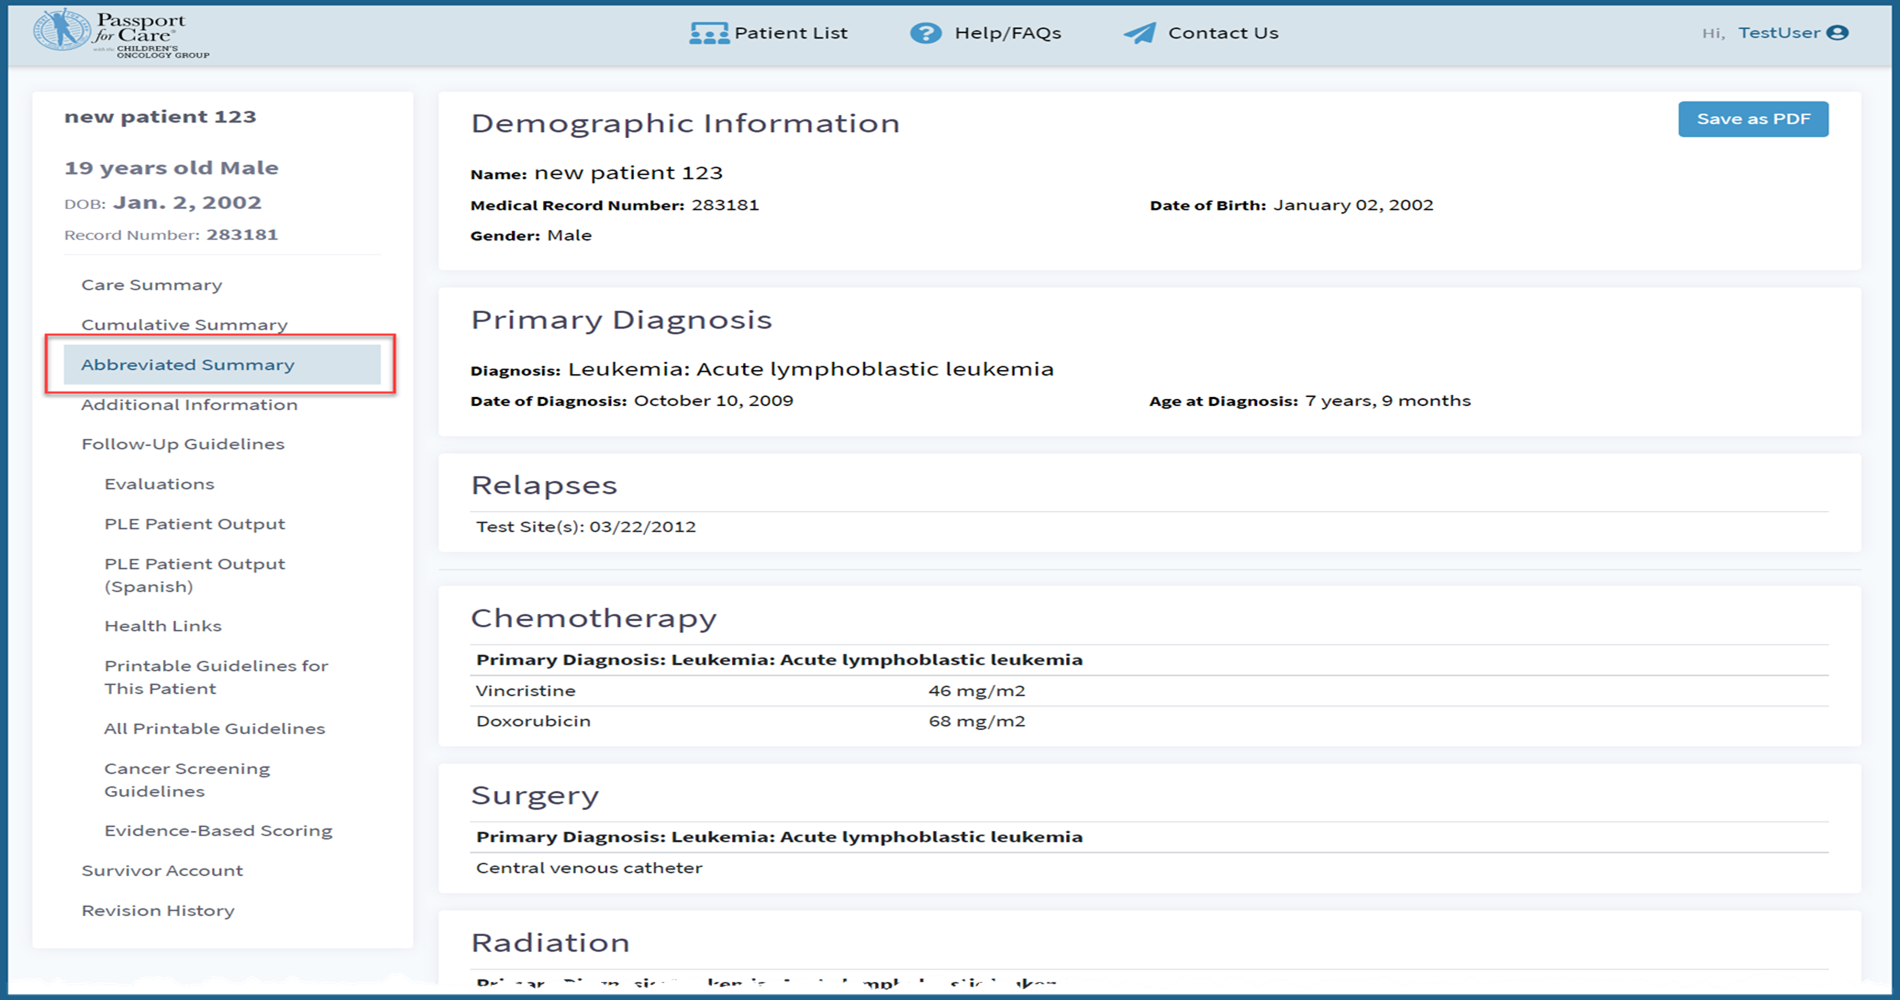  |
| Expand | ||
|---|---|---|
| ||
Follow-Up Guidelines up guidelines are system generated using the required fields and running them through an algorithm to produce the following tailored reports. Follow-Up Guidelines
Evaluations
PLE Patient Output
Health Links
Printable Guidelines for This Patient
All Printable Guidelines
Cancer Screening Guidelines
Evidence-Based Scoring
|
| Expand | ||
|---|---|---|
| ||
The Survivor Account survivor account page allows you to generate instructions and code for your survivors to allow them to create their account to their Survivor Website - see [How to Generate a Video] & Clinician Guide to Survivor Website After code generation and the first successful login by the survivor, the page will describe the type of user, usually a Parent/Guardian for an account with a patient under 18 and the survivor once thereafter. On the survivors' 18th birthday, existing accounts will be disabled and a new generation code will have to be generated. Next to the type of user column will be the status of the Survivor survivor account either active, inactive, or disabled. Next to that will be an action column with a button allowing you to manage the account where you are able to change the survivor’s username, role, and status. Lastly, there is a Login Activity login activity column that keeps a record of the survivor’s number of total logins and timestamps of the last five times the survivor has logged into their Survivor Website. |
| Expand | ||
|---|---|---|
| ||
The revision history page can be found under individual patient care summaries. Revision History history tracks all additions, updates, and deletions. It details changes by page, date, time, action taken, the user who made the changes, the fields modified, and values for those fields. Additionally, selecting “Include View Only Entries” displays an expansive list of activities by users that includes previous instances where the patient care summary has been viewed. |
| Expand | ||
|---|---|---|
| ||
System Notifications are used b PFC for communication across all clinics or select clinics based on the message. These may include important reminders, system downtime, special instructions, etc. System notifications will display at the top of the screen and are removable by pressing the “Dismiss” button.  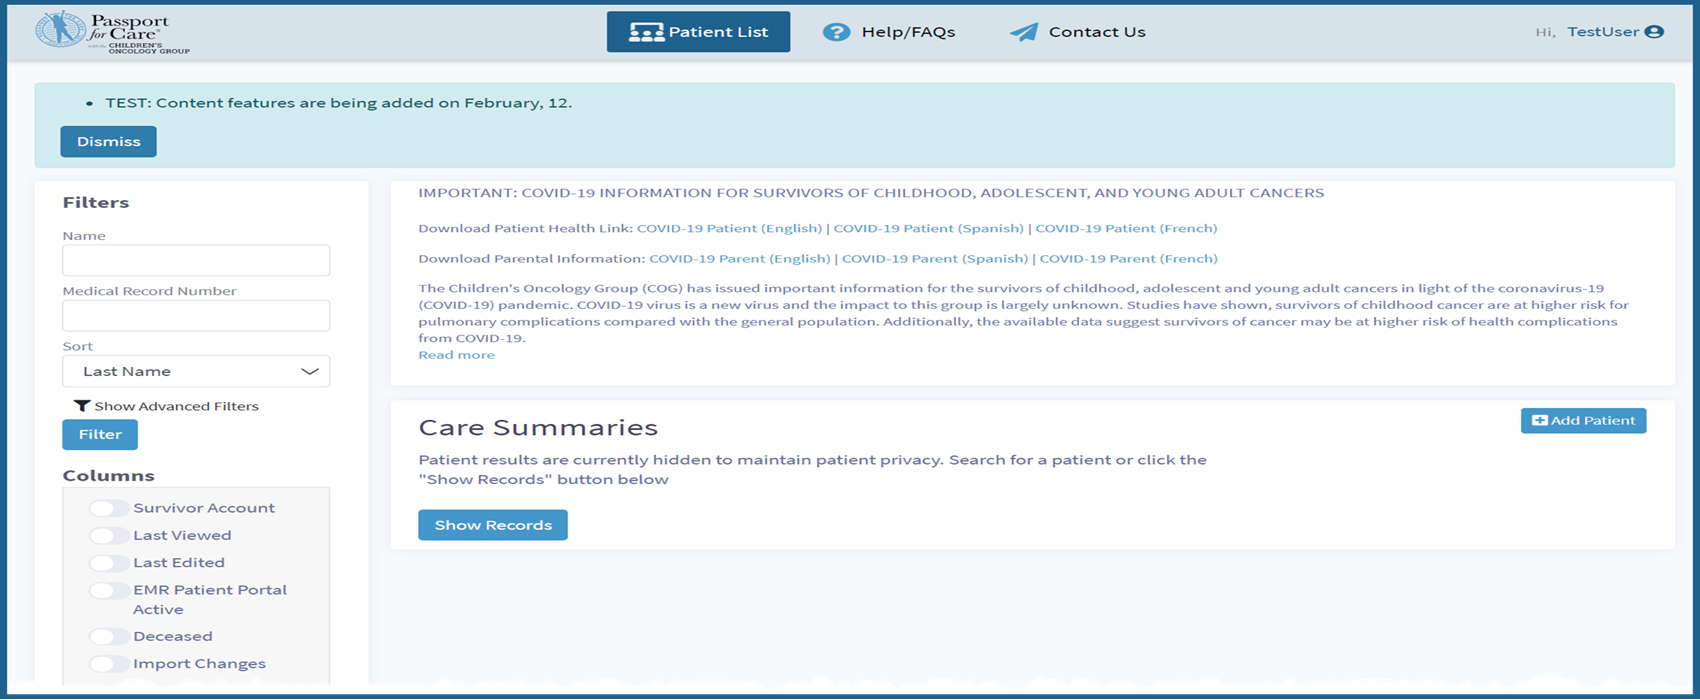 |
| Expand | ||
|---|---|---|
| ||
The Help/FAQs tab of the site's navigation bar links to the Passport for Care General Information and Resources webpage where current users can access educational materials that provide guidance. Resources include the Video Training and Tutorial Series, Frequently Asked Questions, and the Quick Reference Guide. Additionally, it is a public-facing site where non-enrolled but interested clinicians or facility staff can access to learn more about what the site provides. Information on both the clinician facing Passport for Care Clinician Website and the patient-facing Passport for Care Survivor Website is provided. |
| Expand | ||
|---|---|---|
| ||
The Contact Us contact us tab of the site's navigation bar links to the Helpdesk webpage Help Desk Webpage where you are able to request assistance, updates, and submit suggestions and questions. Please use the Helpdesk for all your issues so the development team can track items and their resolutions throughout the life cycle of the Passport for Care.
Note
|
| Expand | ||
|---|---|---|
| ||
Additional features are added to the Administrator administrator accounts to help them manage their clinic system from their location. These features can be accessed by clicking on the additional tabs located on the site's navigation bar.  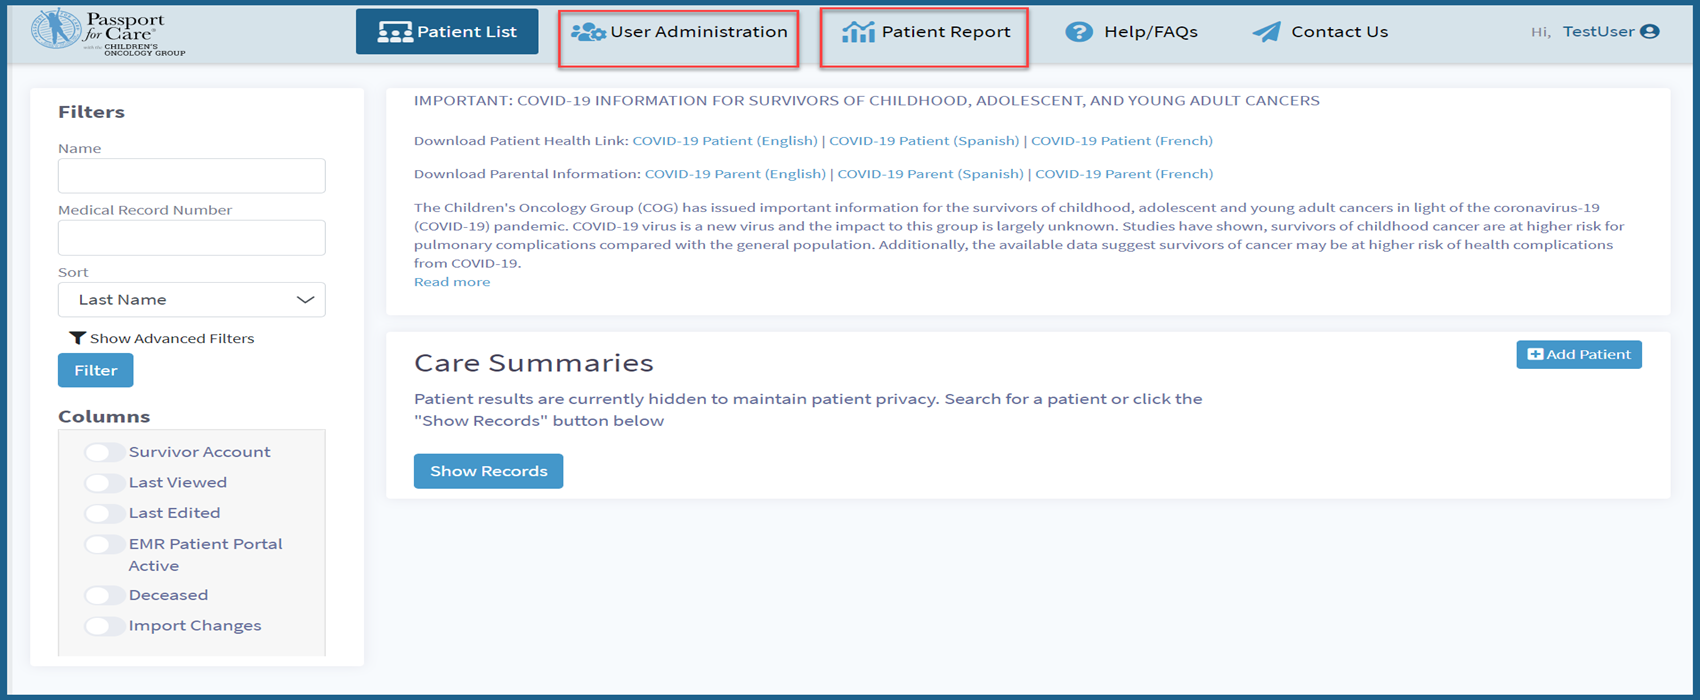 User AdministrationAdministrators using the User Administration user administration tab can add new users, assign security roles, and do general account management. After clicking on the Use Administration user administration tab users will be presented with a list view where administrators can see the user's full names, last login, sign in security, and whether the user is a clinic administrator. Security roles are:
Patient ReportAdministrators using the Patient Report patient report tab are able to run clinic wide reports with the help of filter tools to retrieve care summaries and download reports. Located under the list of filters, administrators are able to use toggle buttons to customize reports by narrowing the data included in the reports. By clicking on the '+' symbol next to these toggle buttons, a list of data points appears which, if turned off, will exclude them from the report. 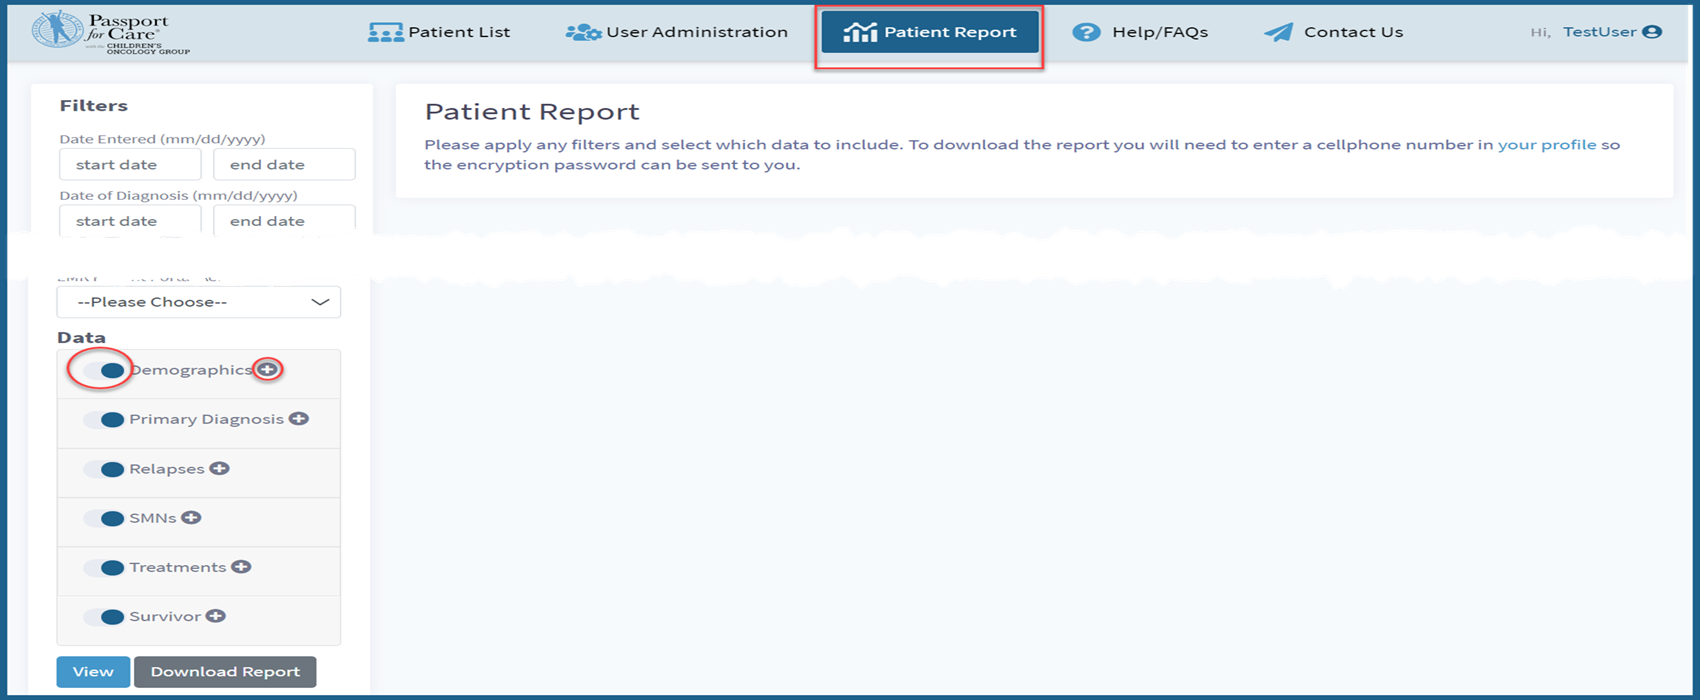  Note
|